
A spark plug is composed of a shell, insulator, and the central conductor, connected to a high voltage which is generated by an ignition coil or magneto. The voltage is created between the central and side electrodes. It appears after the current flows from the loop. Generally, a spark needs a voltage of 12,000 to 25,000 volts or more to give proper current. But, it can go up to 45,000 volts.
Putting a spark plug or changing it requires patience and focus. It’s not just about pulling away from the old one and setting a new one in the space. It is important to refer them correctly before starting the engine. There are three essential components to ensure that you have put spark plug wires in the correct order.
- Firing order
- Cycling numbering
- Distribution rotation direction
If you understand these crucial key components and learn how to incorporate them, you can quickly complete the task.
How to Put Spark Plug Wires in the Correct Order?
Step 1: Get a Repair Manual
First things, first! Purchase a repair manual from any of the local stores that sell auto parts. You can also find them online. Through the Internet, you can get help for your specific model and learn about the process. If you still don’t understand, you can also visit your car dealer or service centre. You can always request them to explain the process of putting the spark plug wires into the correct order.

Step 2: Notice the Direction Where the Distributor Rotor Turns
As you know, the rotor located underneath the distributor cap. It can spin clockwise or anti-clockwise. That’s why you should know the spin direction of your rotor. For that, you can remove the distributor cap and observe the direction. Then, reconnect the distributor cap to proceed further.
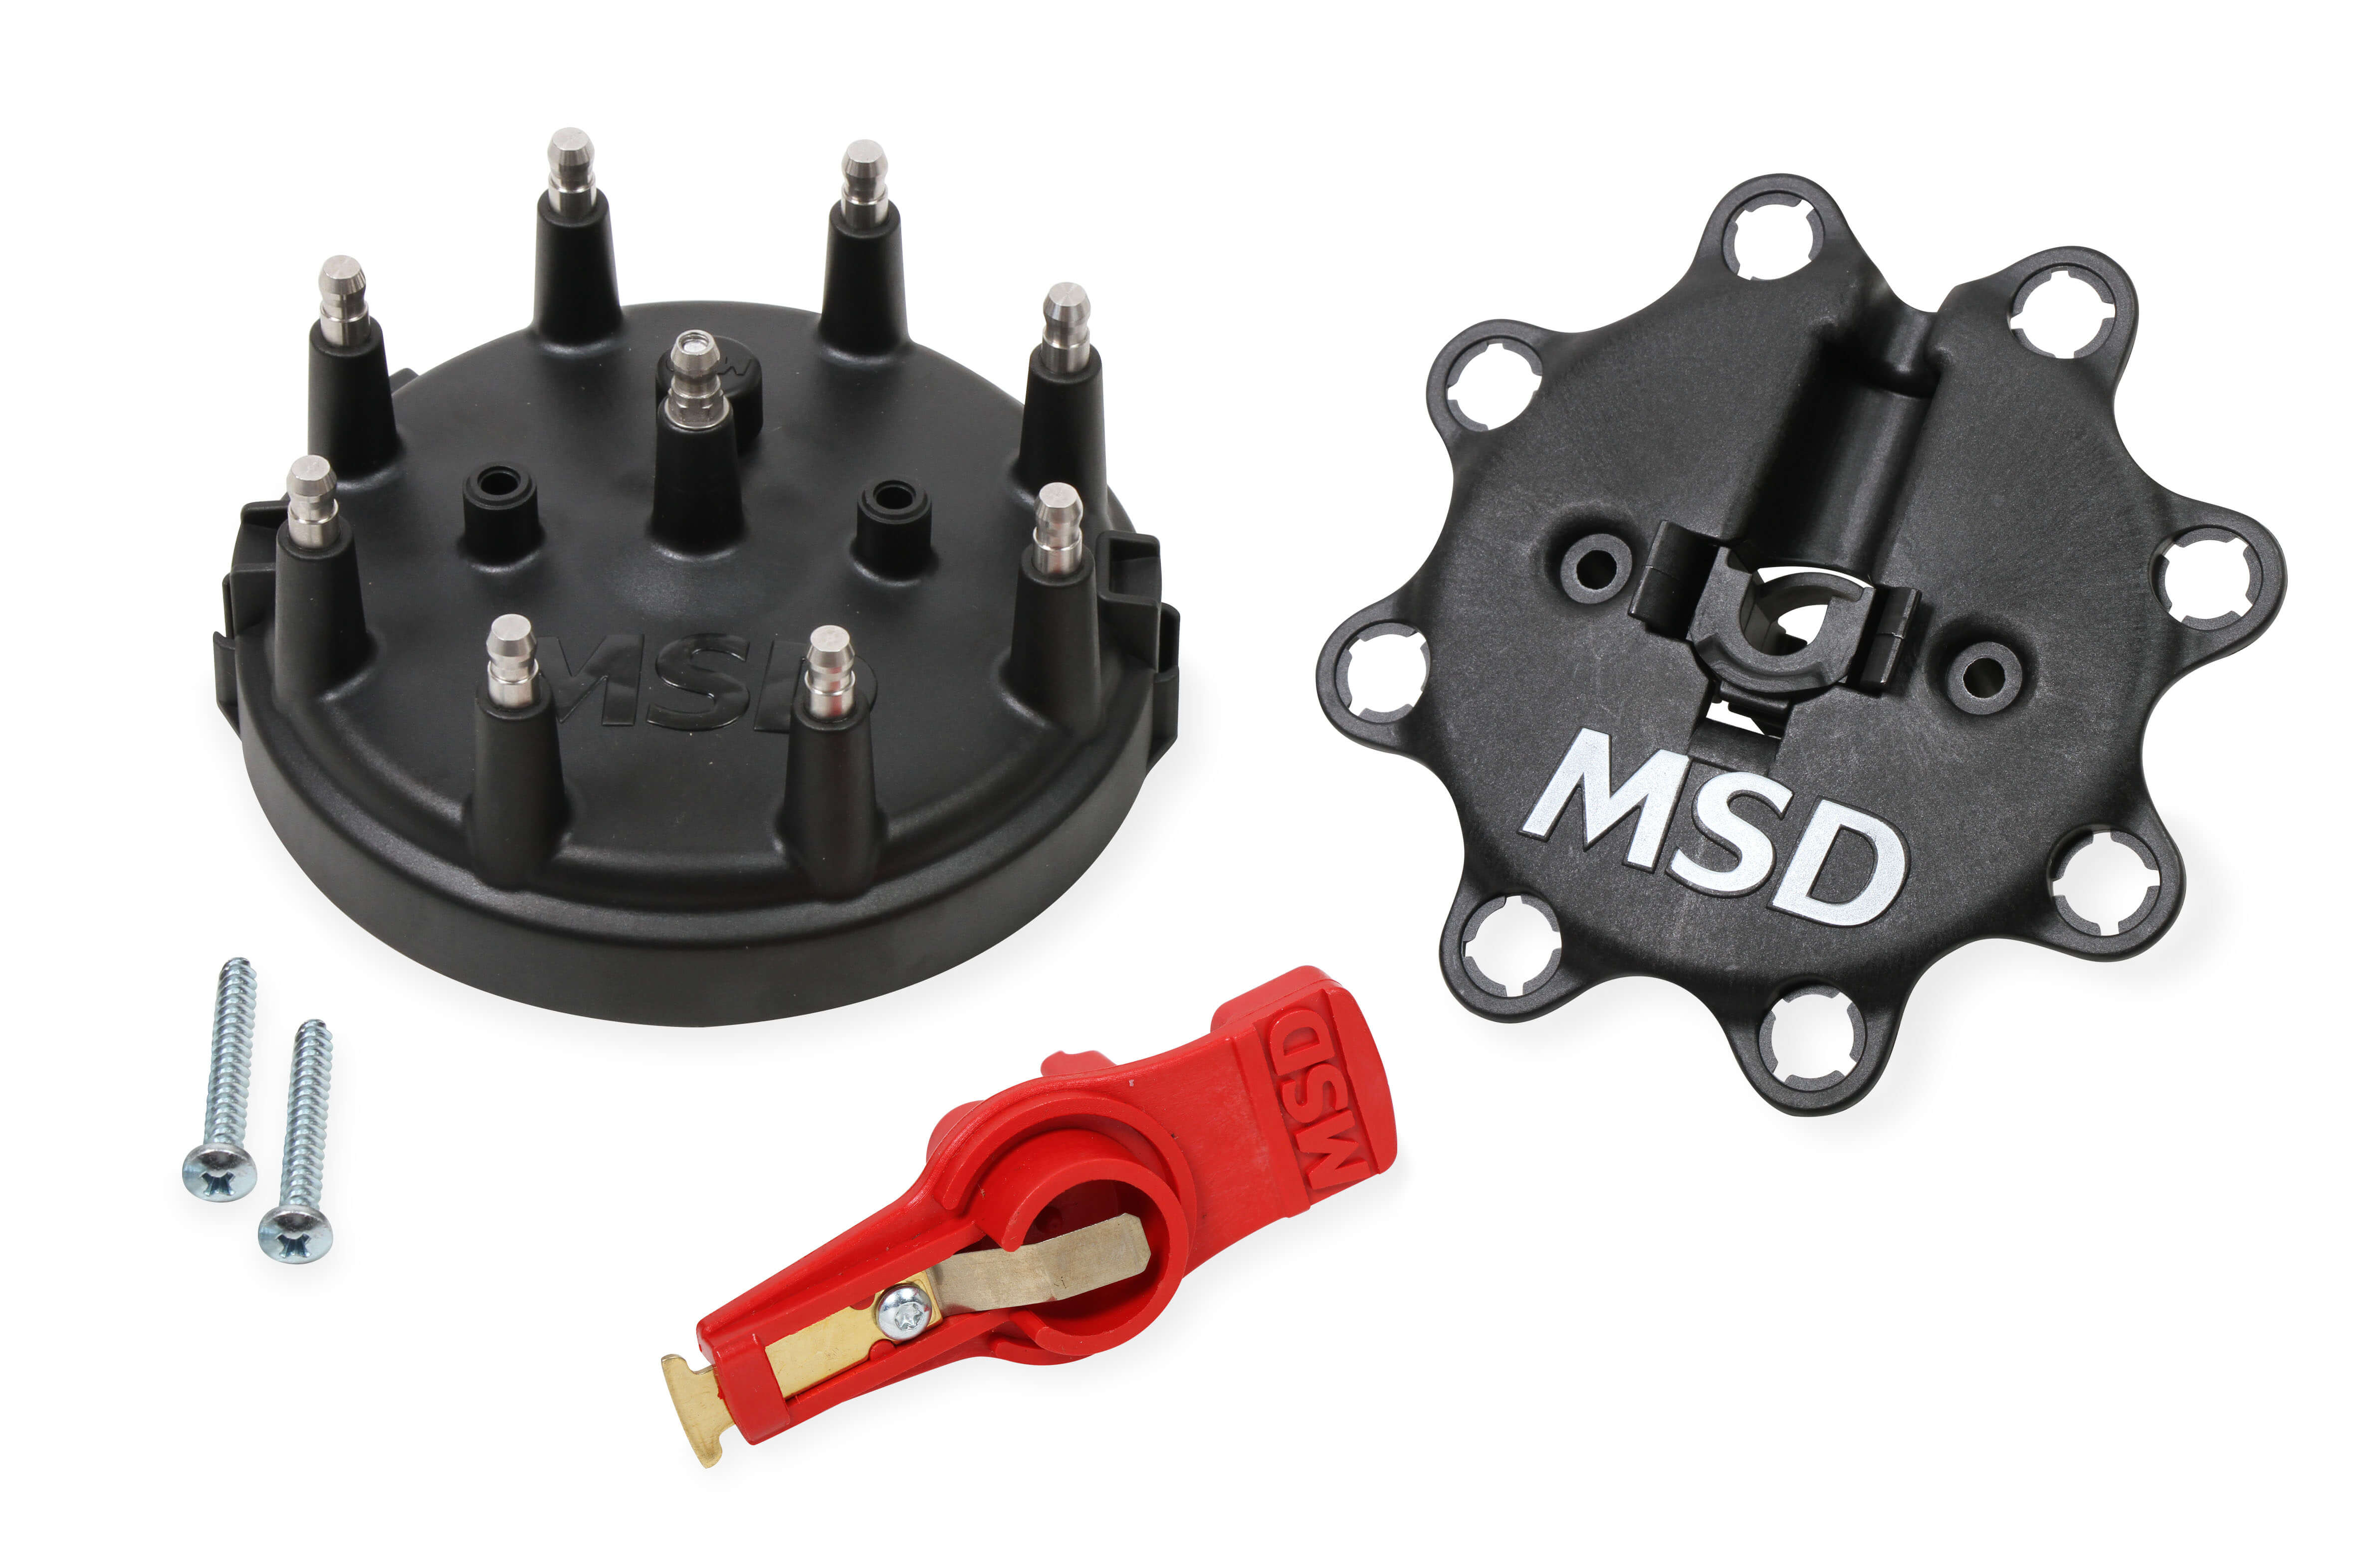
Step 3: Find the Distributor’s Number One Firing Terminal
Take a look at the repair manual to locate the firing terminal. There are many distributor caps available, which already come with the mark of number one terminal. You can also try that process manually by pointing out the distributor rotor to the number one terminal and turning the engine. Do it until crankshaft and camshaft timing marks line up. Find a proper way and specific instruction from the manual.
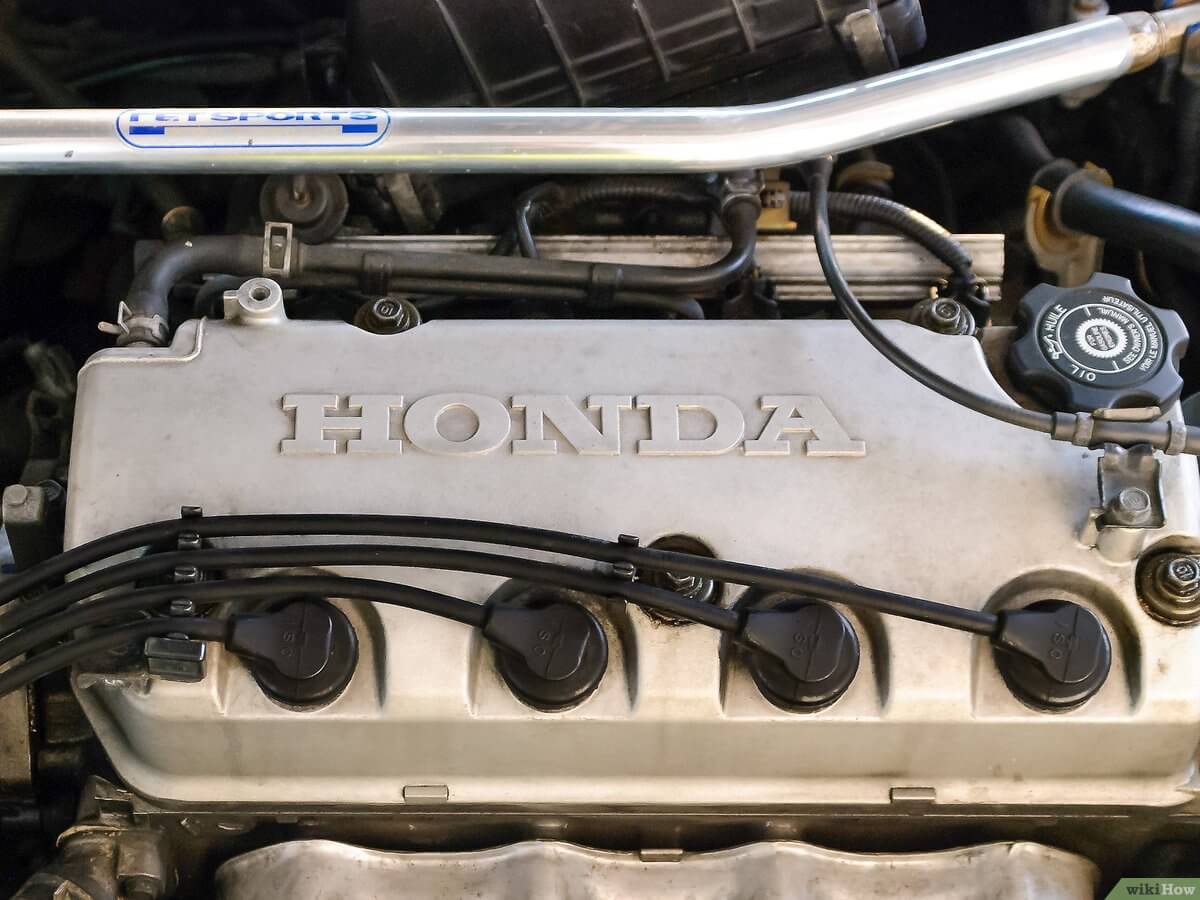
Step 4: Locate #1 Cylinder
Look for the #1 cylinder on the engine block. You can find it by checking the cylinder block numbering format from the repair manual. All the cylinders are numbered. They work differently as per your car’s model. So, connect a spark plug wire between the #1 cylinder and the distributor’s #1 terminal.
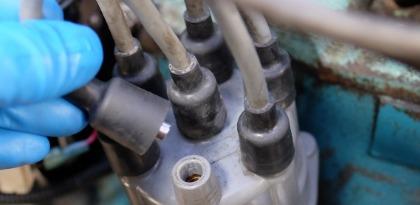
Step 5: Connect Other Spark Plug Wires
Here, first, you have to remember the direction in which your rotor moves. Connect all the remaining spark plug wires one by one, according to the firing order of the repair manual. The firing order is as follows:
- It starts with the distributor’s number one terminal.
- Then, it continues in the predetermined direction, clockwise or anti-clockwise.
- It works in this manner until it reaches the number one terminal once again, completing the full round.
If your manual has the firing order as 1, 2, 3, 4 and if the rotor moves clockwise, then connect the third cylinder of distributor terminal immediately to the number one terminal. Similarly, connect the second cylinder to the third terminal. Then, the fourth cylinder to the number two terminal.
Step 6: Testing
After completing all the procedures mentioned above, you should check each spark plug wire before starting them. Compare them with the firing order given in the manual. Then, make sure that everything you have connected is in the determined order and linked to the correct distributor terminal.
Pro Tip
If the engine of your vehicle backfires, turn it off immediately. After that, check if the spark plug wires are connected properly or not. You should always have your repair manual with you. That is one of the most important guides you can get to complete these procedures.
So, this is how you can put spark plug wires in the correct order. We hope this article is helpful to you.
Here, first, you have to remember the direction in which your rotor moves. Connect all the remaining spark plug wires one by one, according to the firing order of the repair manual. The firing order is as follows:
It starts with the distributor’s number one terminal.
Then, it continues in the predetermined direction, clockwise or anti-clockwise.
It works in this manner until it reaches the number one terminal once again, completing the full round.
If your manual has the firing order as 1, 2, 3, 4 and if the rotor moves clockwise, then connect the third cylinder of distributor terminal immediately to the number one terminal. Similarly, connect the second cylinder to the third terminal. Then, the fourth cylinder to the number two terminal.
Someone help please I have a 89 Nissan d21 hardbody pickup 4 cylinder with 8 plugs it was running all I did was put new plugs in July an August did new wire’s an distributor cap an rotor now it won’t start it will turnover but won’t start they say the fire order is 1342 my distributor cap is marked for exhaust an intake side so I don’t know what they mean by 1342 an my truck been down since August 29th I don’t have money for a shop an I can’t just keep being without a ride per health issues an have a lot of appointments please someone explain what I am doing wrong an tell me what I need to do cause my truck was running